You don’t need a trip to the salon to get gorgeous nails. With a few simple tools and some creativity, you can achieve stunning nail art right at home. Whether you’re a beginner or a DIY pro, these easy designs will help you level up your manicure game.
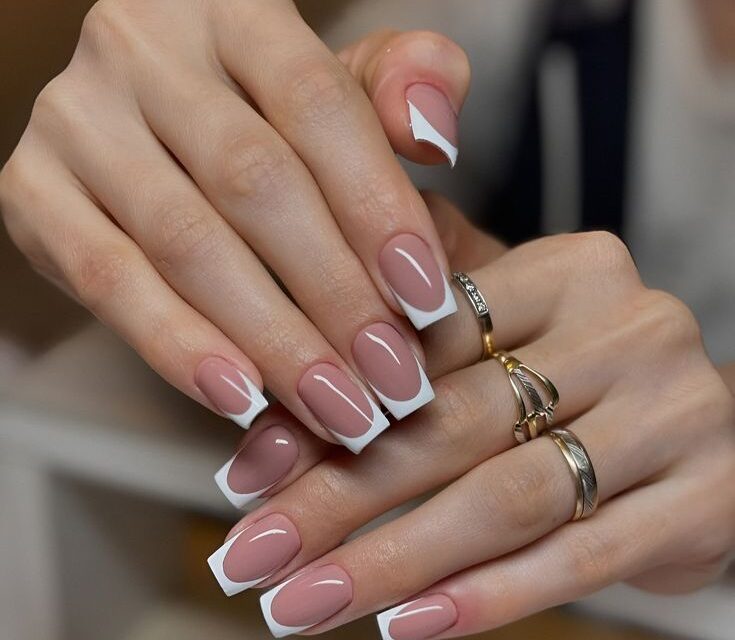
1. Classic Polka Dots
Polka dots are a timeless design that requires minimal effort.
-
How to do it: Apply your favorite base color, then use a toothpick or dotting tool dipped in a contrasting shade to create evenly spaced dots.
-
Tip: Mix up the sizes of the dots for a fun, playful look.
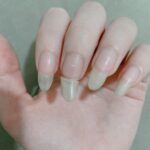
2. Chic French Tips with a Twist
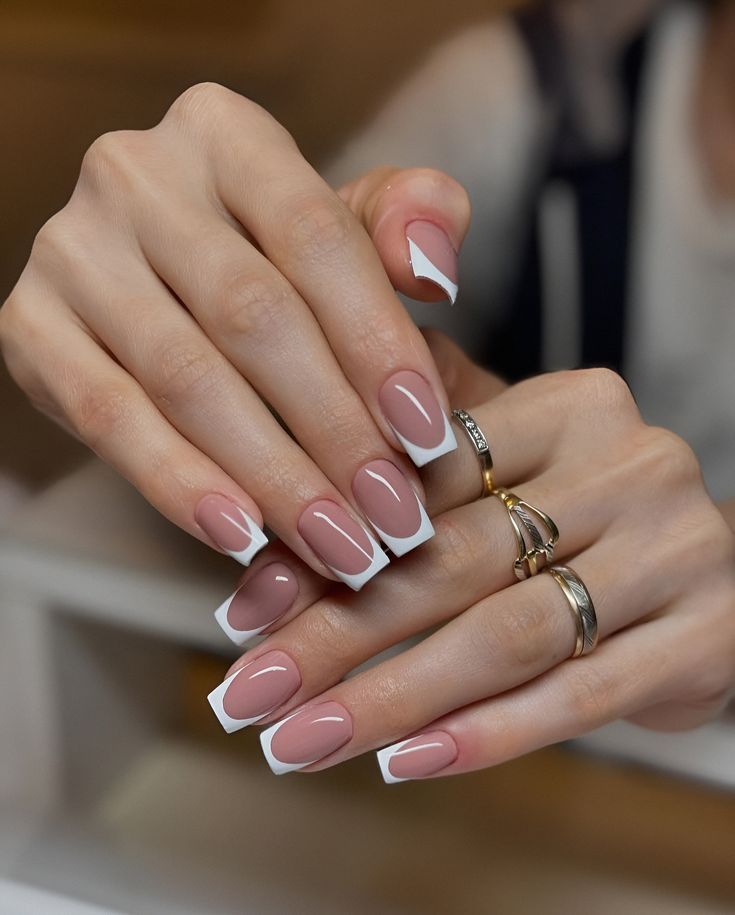
Give the traditional French manicure a trendy update.
-
How to do it: Instead of classic white tips, experiment with metallics, neon, or pastel shades.
-
Tip: Use nail guides or tape to create clean, precise lines.
3. Minimalist Negative Space
This design looks modern and works with any outfit.
-
How to do it: Apply tape to sections of your nail you want to keep bare. Paint over the rest with your chosen color and peel off the tape for sharp edges.
-
Tip: Seal with a glossy top coat for a salon-like finish.
4. Glitter Accent Nails

Perfect for parties or when you want to add sparkle.
-
How to do it: Apply glitter polish on just one or two nails per hand while keeping the others a solid color.
-
Tip: Choose fine glitter for a subtle effect or chunky glitter for bold glamour.
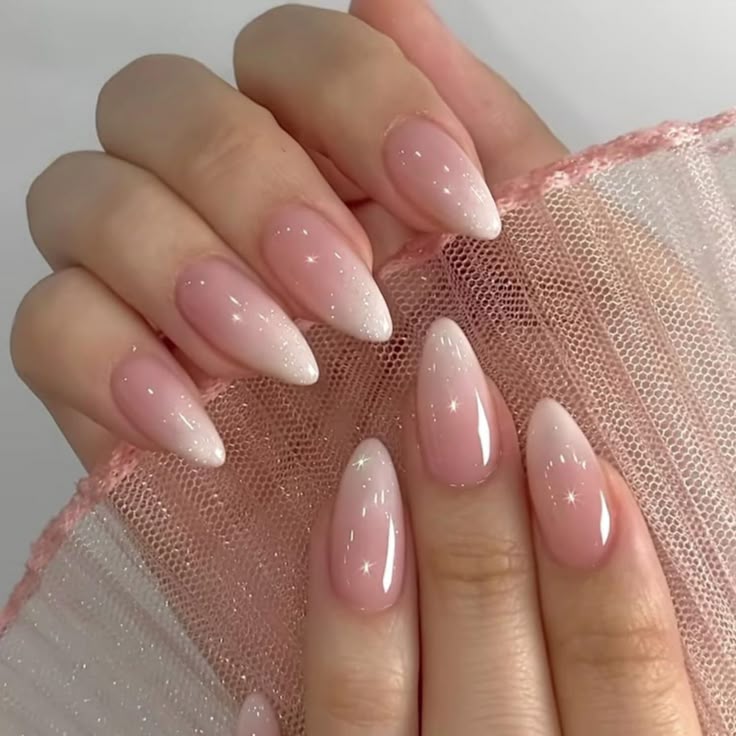
5. Ombre Gradient Nails
Version 1.0.0
An Instagram favorite that looks harder than it is.
-
How to do it: Use a makeup sponge to dab two or three complementary shades onto your nails, blending where they meet.
-
Tip: Clean up the edges with a cotton swab dipped in nail polish remover.
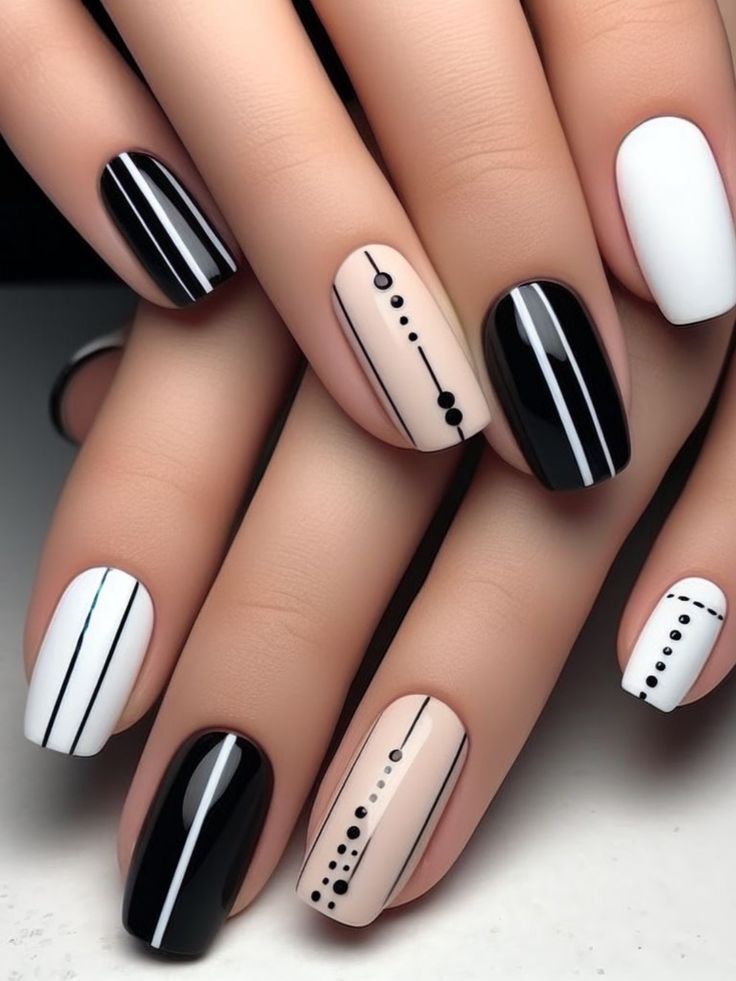
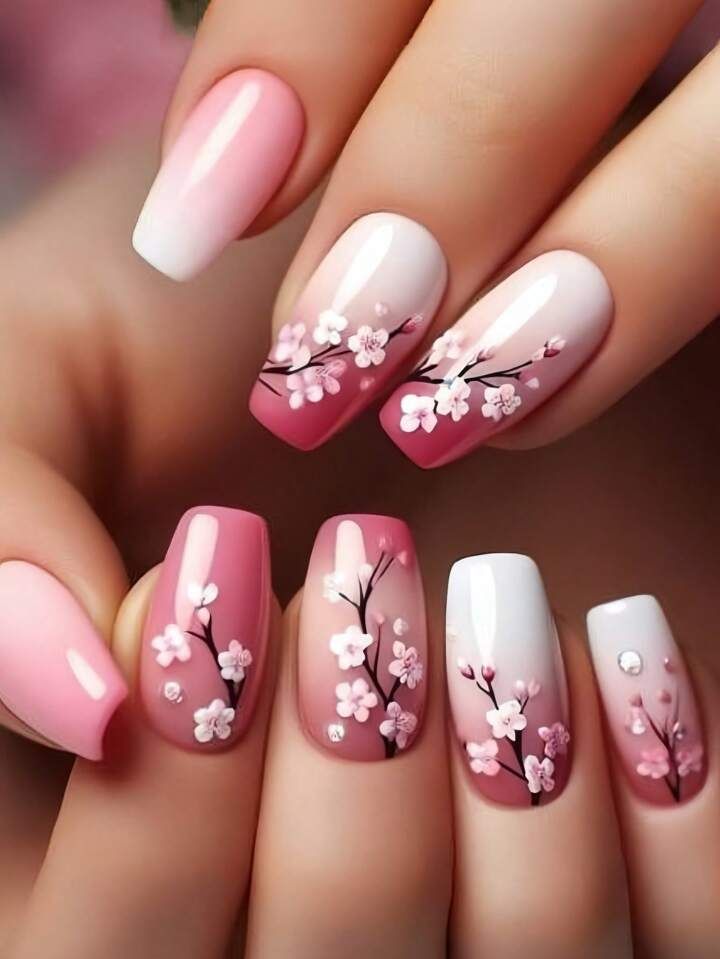
6. Abstract Brush Strokes
Unleash your inn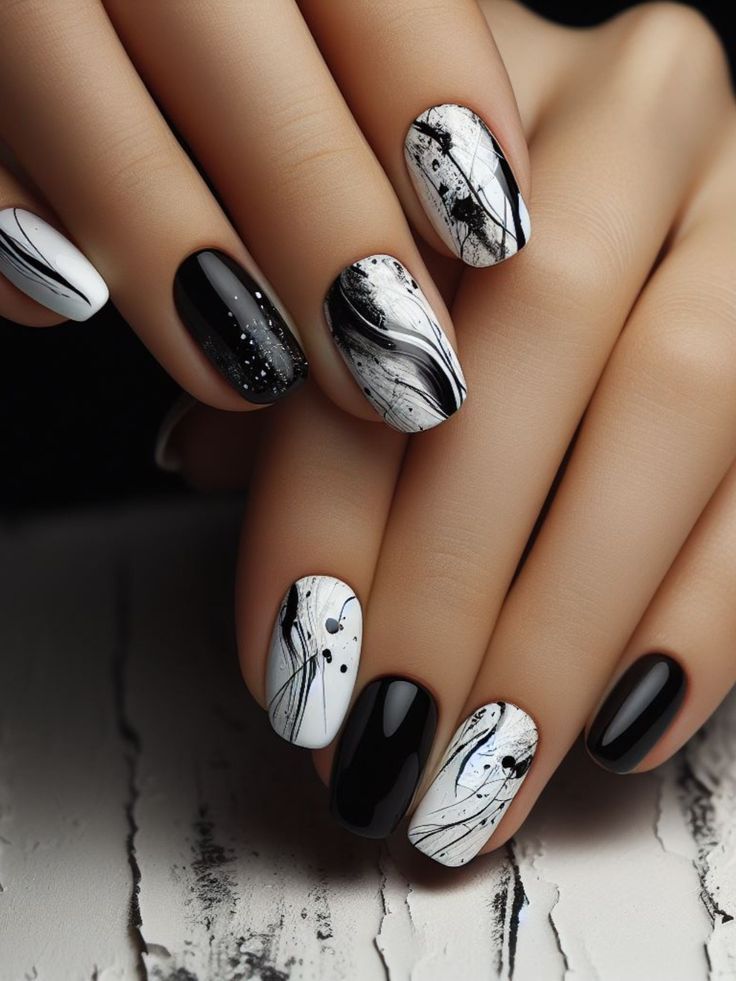 er artist with abstract nail art.
-
How to do it: After applying a neutral base, use a thin brush to make random strokes in different colors.
-
Tip: Add gold foil or metallic accents for a luxe vibe.
7. Marble Effect
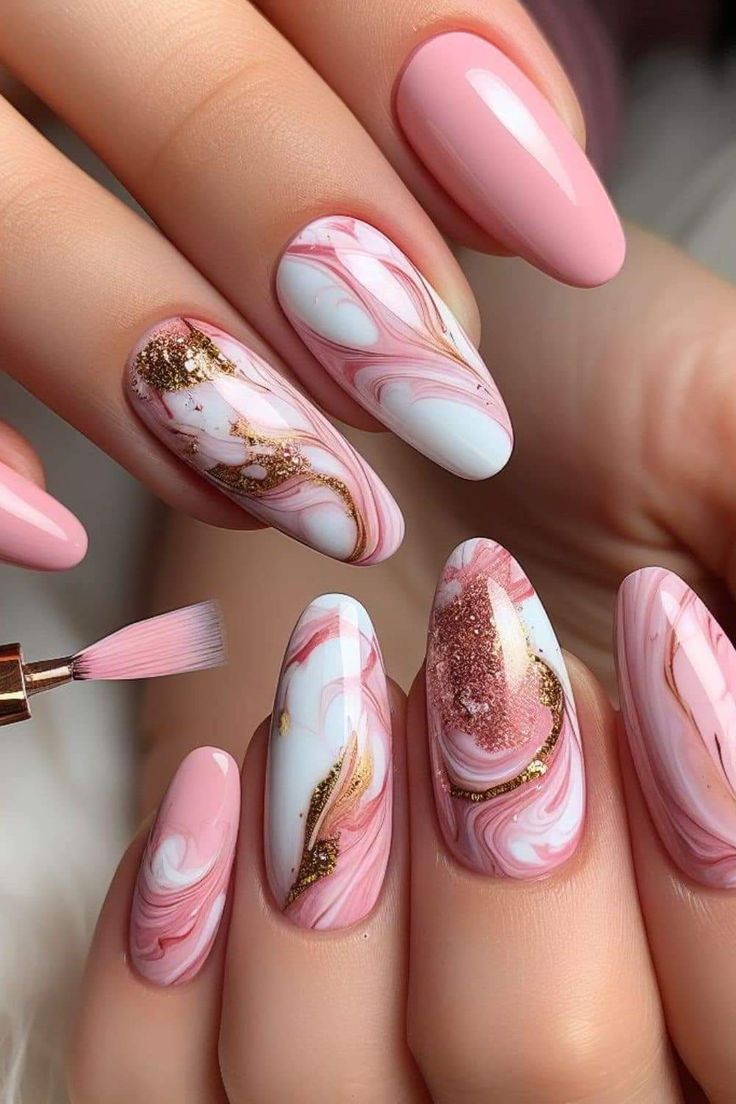
Marble nails are chic and surprisingly easy.
-
How to do it: On a white base, swirl small lines of grey or black polish using a thin brush or toothpick to mimic marble veining.
-
Tip: Add a hint of metallic for a modern twist.
8. Sticker and Stamp Art
When in doubt, let stickers do the work.
-
How to do it: Apply your base coat, then place small nail stickers or use stamping plates for intricate designs.
-
Tip: Seal with a clear top coat so the design lasts longer.
Final Tips for Perfect DIY Nail Art:
-
Always start with a base coat to prevent staining.
-
Seal your designs with a good-quality top coat.
-
Be patient—allow each layer to dry fully before adding the next.
With these at-home nail art ideas, you can keep your manicure fresh, fun, and fashionable without spending hours at the salon. Experiment with colors, patterns, and textures to create a style that reflects your personality.