Do you want to look elegant and smart? If your answer is “yes”, then pay attention not only to making your face and hair perfect, but also to having well-manicured hands. And when it comes to manicure, please remember that a proper manicure involves many rituals and not merely filing your nails and applying nail polish. But, hey! Don’t worry as for this you won’t need to go to a parlour and spend a lot of money. With proper guidance and a little practice, it can be easily done at home. So, get ready to become a perfect manicurist!
To begin your adventure as a manicurist, the very first things you require are the appropriate tools to accomplish your job perfectly. As a manicurist you need
- Nail polish remover
- Nail clipper
- Cotton swab or pads
- Nail buffer
- Cuticle pusher and nipper
- Cuticle/Callous remover
- Hand moisturizer
- A base coat
- Your favourite nail polish
- A clear top coat
This is a one-time investment and won’t hurt your pocket much.
After procuring all the above items, you are all set to embark on your own manicure adventure.
Step 1: Clean your nails
Clean your nails and remove any nail polish with nail polish remover. Even if you have not applied any nail polish previously, then also apply the nail polish remover to remove any dirt or greasy substance that may lurk on the surface of the nail. Now here comes a crucial question. Which type of nail polish remover should you use? Please remember, a non-acetone nail polish remover is gentler than an acetone-based one, and a non-acetone nail polish remover does not dry out the skin around your nails. Though an acetone-based nail polish remover works much faster, it can damage your nails.
It is also worth mentioning here that if you are using nail polish remover more than once a month, then most of the nail specialists recommend the use of a non-acetone nail polish remover.


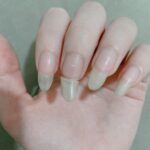
Step 2: Give shape to your nails
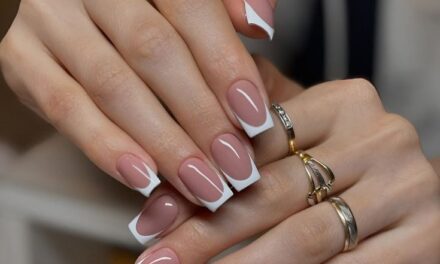
Trim your nails, if necessary, by using a nail clipper. Please avoid cutting them very short. Then give shape to your nails by using a nail file. If you prefer a simple shape, then go for rounded nails or square-shaped nails with rounded edges or oval shape.
Caution: While filing your nails, be gentle and do not drag the file to and fro with great force. Also avoid filing very short. Finally, with the help of a nail buffer, buff the tops and sides of your nails for a smooth surface. Please remember, do not buff your nails too smooth, otherwise the nail polish will not adhere to your nails.
Step 3: Soaking the nails and hands
This is the most relaxing part of the process. Take a big bowl and fill it with warm water. You can add a few drops of cleanser or a baby shampoo and soak your hands in it for 2-3 minutes. Don’t over-soak; otherwise it may damage your skin and nails. Also, exfoliate your wrists and forearms with a scrub; this will eliminate dead skin cells and replenish moisture. Soaking the cuticles helps to soften them and it loosens up the dead cells and dirt. Use a gentle nail brush to clean the nails and the skin around them.
Step 4: Prepare the Cuticles
Apply cuticle/callous remover to remove excess cuticles and callouses around the nail.
Step 5: Push back your cuticles
Massage some cuticle cream onto your nails and then using a cuticle pusher gently push the cuticle back, away from the nail. Take care not to push it too far as it can damage the nail growth. Also try not to pull, lift, rip, tear or cut into the cuticle in anyway. Once the cuticles are done, wipe off the extra cream from your nails.
Step 6: Apply a hand sanitizer
Massage your hands with a rich and thick cream-based moisturizer taking special care of fingers and the area around your nails.
Step 7: Final preparation of nails for polish
If there is too much moisturizer on your nails, then the nail polish will not stick to your nails. So use a cotton pad to apply nail polish remover over the nails to remove any excess moisturizer.
Step 8: Apply a base coat
Apply a clear nail polish as a base coat. You can also use a white nail polish as a base coat. This will prevent your nails from getting stained, especially by red-coloured polish. Also a base coat hydrates and protects the nails from chipping. It helps the nail polish to last longer. After applying the base coat, wait for at least 2 minutes.
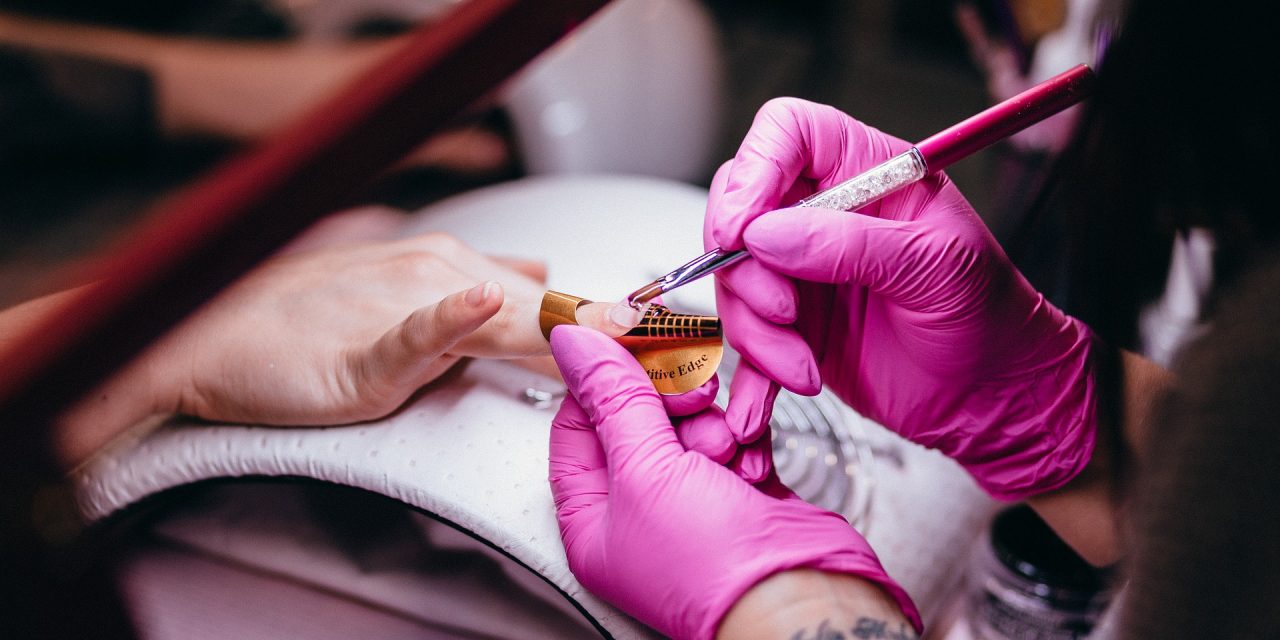
Step 9: Apply first coat of your favourite nail polish
Now apply a thin layer of first coat of nail polish of your choice. Start from the base of your nail towards the tip. Ensure that the corners of the nail are also covered.
Step 10: Apply the second coat of colour
Apply the second coat of colour after the first coat dries up. It takes approximately 2 minutes for a coat to dry. Pastel shades generally require a third coat.
Step 11: Finish with a top coat
Often people skip this part. Please don’t do so. A top coat is required to protect your manicure from chipping or flaking. If you do any nail art, then it will also be protected. Now, if you truly want to get a saloon-like manicure look, then apply a separate shine enhancer.
Step 12: The final touch
Clean up the rough edges with a piece of cotton ball soaked in nail polish remover wrapped around the end of a cuticle stick. Carefully trace around your nails and let your nails dry for 4-5 minutes. To finish off, reapply moisturizer on your hands and nails for a healthy look.
Congratulations! You have now mastered the Art of Manicure.