Strobing- this new term has been doing the rounds in the fashion and beauty world for quite some time now but many of us might still not be aware as to what it is exactly.
Many of us confuse it with contouring but the fact is that it has some distinct characteristics which not only sets it apart from contouring but also makes it simpler to master. Moreover, if you are somehow put off by the sculpted look and matte finish of contouring, and desire to have a soft and healthy complexion with a natural, glowing look then you should definitely go for strobing.

What exactly is strobing?
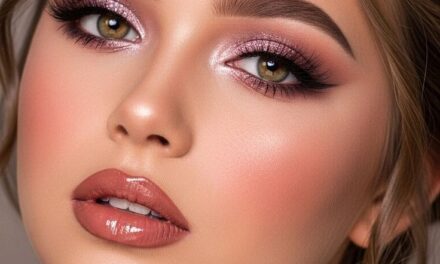
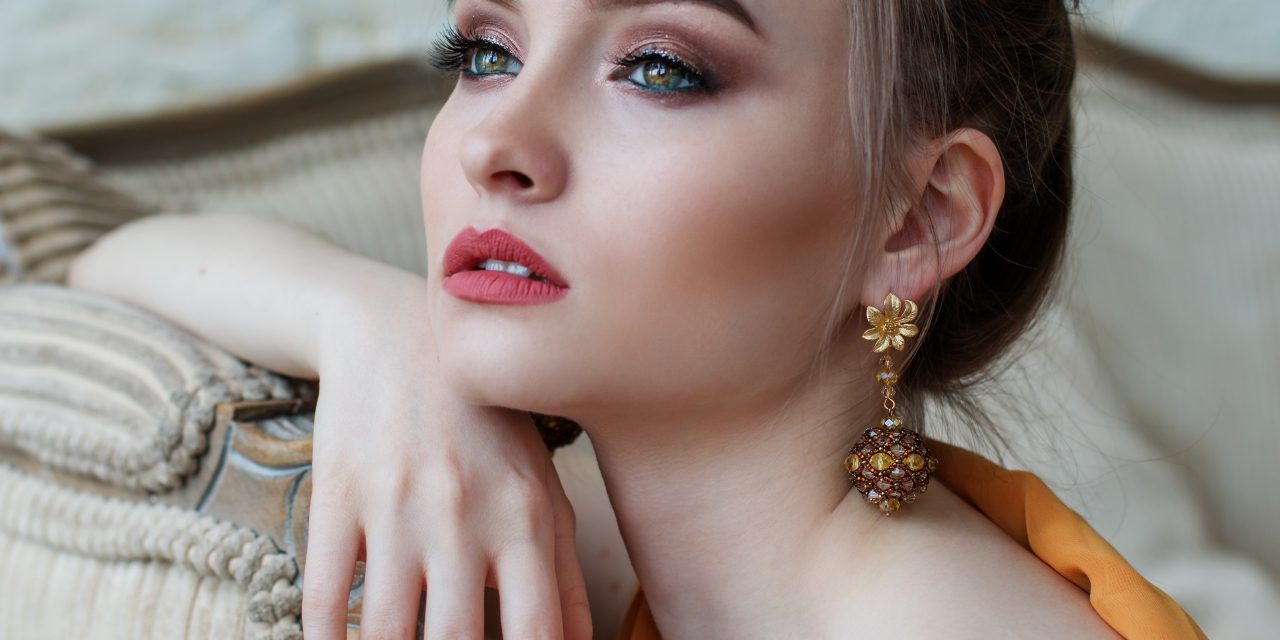
To put it simply, strobing is a highlighting technique that aims to give a healthy, supple and glowing look by using liquid or cream highlighters. You don’t need to use a bronzer or other dark powders. The term “strobing” is derived from strobe lights and when you “strobe” your face using highlighters, you are mainly trying to make those areas of your face even more prominent which catch and bounce off light naturally such as your forehead, your brow bones, the top of your cheekbones and your cupid’s bow. The final result is an illusion as though the face is contoured; but instead of the sculpted and matte look which contouring produces, your face looks dazzlingly illuminated and dewy.
How to do strobing?
Step 1- Prep your face with a moisturizer
It is very important to cleanse your face and moisturize the skin so that the strobing make-up does not look patchy or caked. So use a primer or a moisturizer to hydrate your facial skin and do ensure that it is spread out evenly. If you have an oily-skin, then it is recommended that you opt for an oil-free moisturizer otherwise your skin pores could get blocked. Before proceeding to the next step, wait for about 5 to 10 minutes in order to allow the moisturizer or the primer to get absorbed completely.
Step 2- Use foundation or BB (Blemish Balm) Cream to make the base
You must have an even skin before you start with the strobing make-up and for that you need to apply foundation preferably with a rounded foundation brush and make sure that the foundation that you use is a light-weight, matte one which leaves behind a dewy finish. This would help in accentuating the glowing and shiny effect of your strobing highlighter. Instead of a foundation you can use a BB cream if you have a clear skin.
Step 3- Coat blemishes and other imperfections with a concealer
Under eye circles, acne and any other blemishes on your face might not always be concealed properly with foundation. So, to cover these flaws, use a concealer and to ensure that it blends well, it is always better to use your fingers.
Step 4- Use a cream or liquid highlighter to mark the prominent points on your face
Choose a cream or a liquid highlighter which corresponds to your skin tone and apply a pea-sized amount each on your forehead, nose bridge, cheekbones, temples, brow bones and cupid’s bow (centre of your upper lip). For those having an oily-skin, don’t apply the highlighter to your nose and forehead otherwise the unnatural glow would make them look sweaty. Use a sponge to even out the highlighter on all the highpoints.
Step 5- Add more radiance with a powder highlight
For all the ladies who want an even more dazzling effect, choose a powder highlight with a matching shade to that of your liquid or cream highlighter which would make the strobing effect stand out even more. To do this, you would need a fan brush or a tapered brush and care must be taken that you dust the powder highlight only lightly over your make-up. Those with dry skin, however must avoid the powder highlight for it might make the dry portions on your face look patchy.
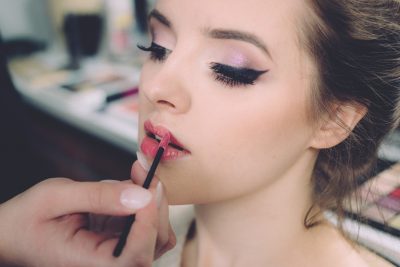
Step 6- Finish off by doing your lips
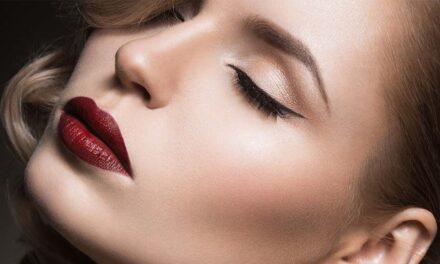
Finally, to make your strobing effect really stand out, added some color to your lips is really necessary. Using a semi-gloss crème sheen lipstick and voila ! you are ready to grab everyone’s eyeballs with your illuminating look.